| - |
Download SMS server installation package from GitHub either:
|
||||||
| - | Make sure the main installation shell script is executable: chmod +x install_sms.sh | ||||||
| - | You are root or root equivalent user, i.e. To install SMS server, you must be a super user. |
| - | Network connection of your prepared Linux server is well configured and fast enough (> 3Mb/s). |
| - | You have registered a domain name for your messaging site, and it has already been pointed to your server's public IP address. |
| - | You have an email address for the SMS administrator. (Note: 1. It should not link to your true identity, 2. It is optional.) |
| - | You have at least one more email account for SMS routine operations. (Note: It is optional). |
| Note: | |
| 1. | This guide is based on Rocky Linux 8 environment, but it could also be applied to other supported platforms. |
| 2. | If you don't have any email account, the only connection mode you can used is "1". Details please refer to the SMS user guide. |
Login Linux server as super user, open a terminal window, and go to the directory where decompressed SMS server installation packages located, then execute installation script:
# ./install_sms.sh
If SELinux isn't disabled and/or SNAP hasn't been installed, SMS installation script will handle them for you automatically, and you may see Figure 1(a) and/or Figure 1(b). However, you need to restart your server each time and rerun the installation script again.
If everything is okay, screen like Figure 1(c) will be seen.
 Figure 1(a): Disable SELinux |
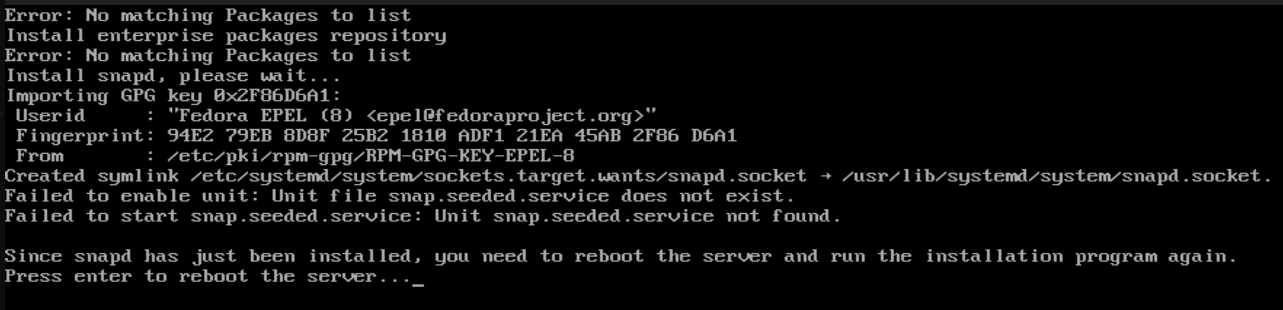 Figure 1(b): Install SNAP |
 Figure 1(c): Start Installation Process |
| Step 1: | Install required utilities and packages |
| Step 2: | Prepare database server and create databases |
| Step 3: | Prepare RabbitMQ message broker and create accounts. |
| Step 4: | Prepare SMS server directories, programs and required libraries. |
| Step 5: | Input essential data to SMS server |
| Step 6: | Configure Nginx as reverse proxy server and install SSL certificate to the site |
| Step 7: | Prepare and install SMS application server automatic starting script |
| Step 8: | Configure Linux system settings |
| Step 9: | Build audio file converter FFmpeg (optional) |
After you press the enter key, step 1 will proceed, and screen like Figure 2 will be seem.
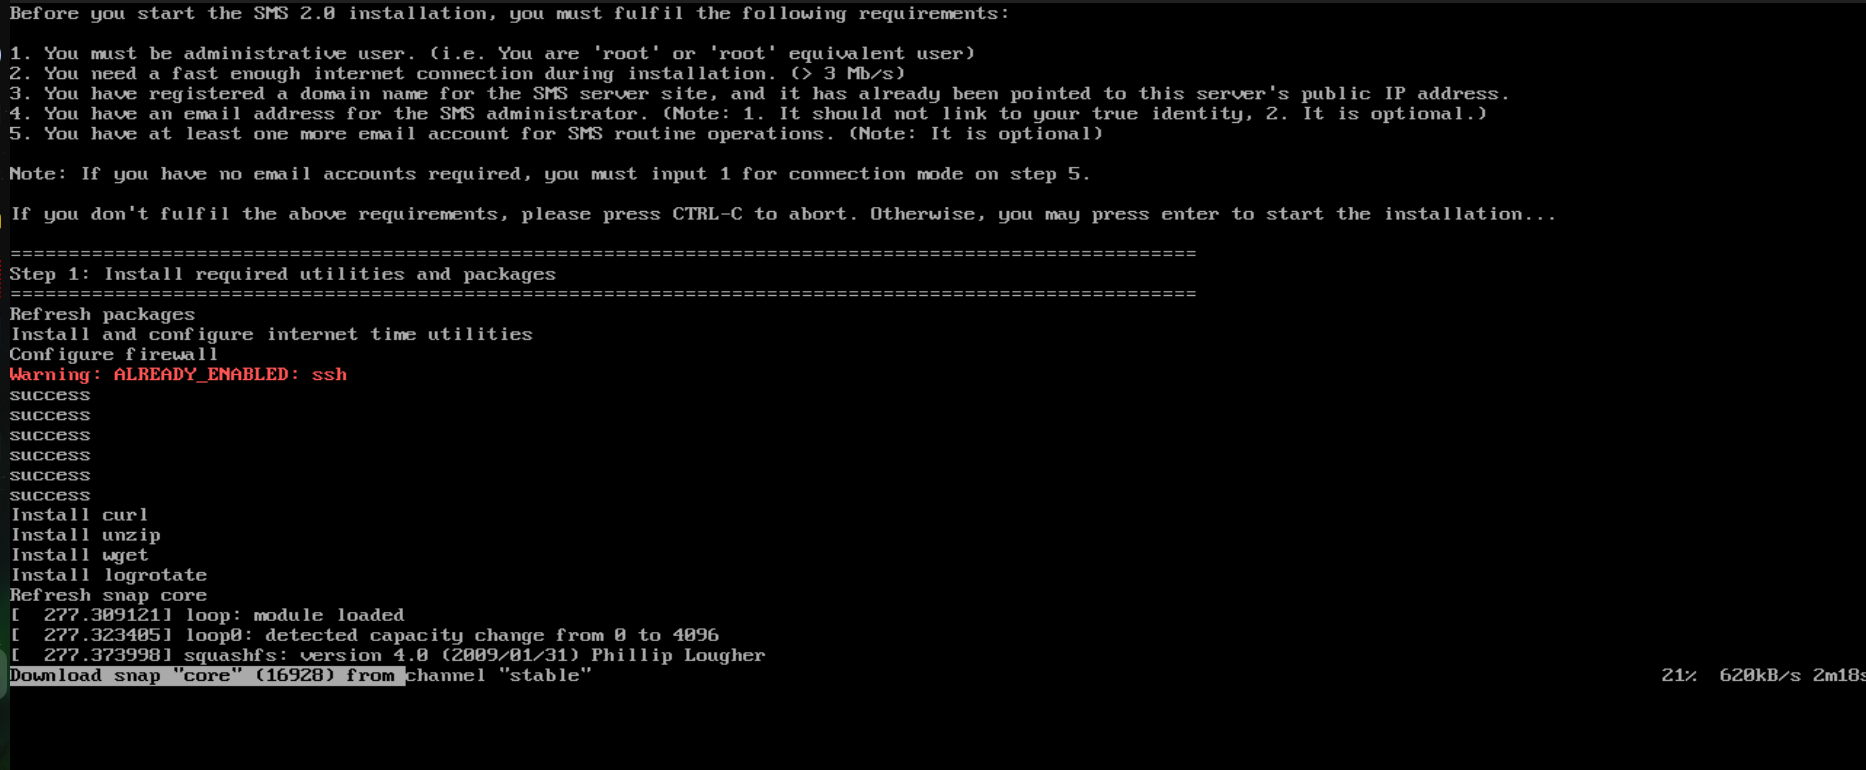 Figure 2 |
When you prepare the MariaDB database server, you need to create password for the database server administrator, and accept default configuration settings to harden database server's security (Figure 3).
After MariaDB database server has been configured, A screen prompt you to create SMS required databases will be shown, you need to press enter to proceed to create databases, and you will be asked to input database server administrator password you just created.
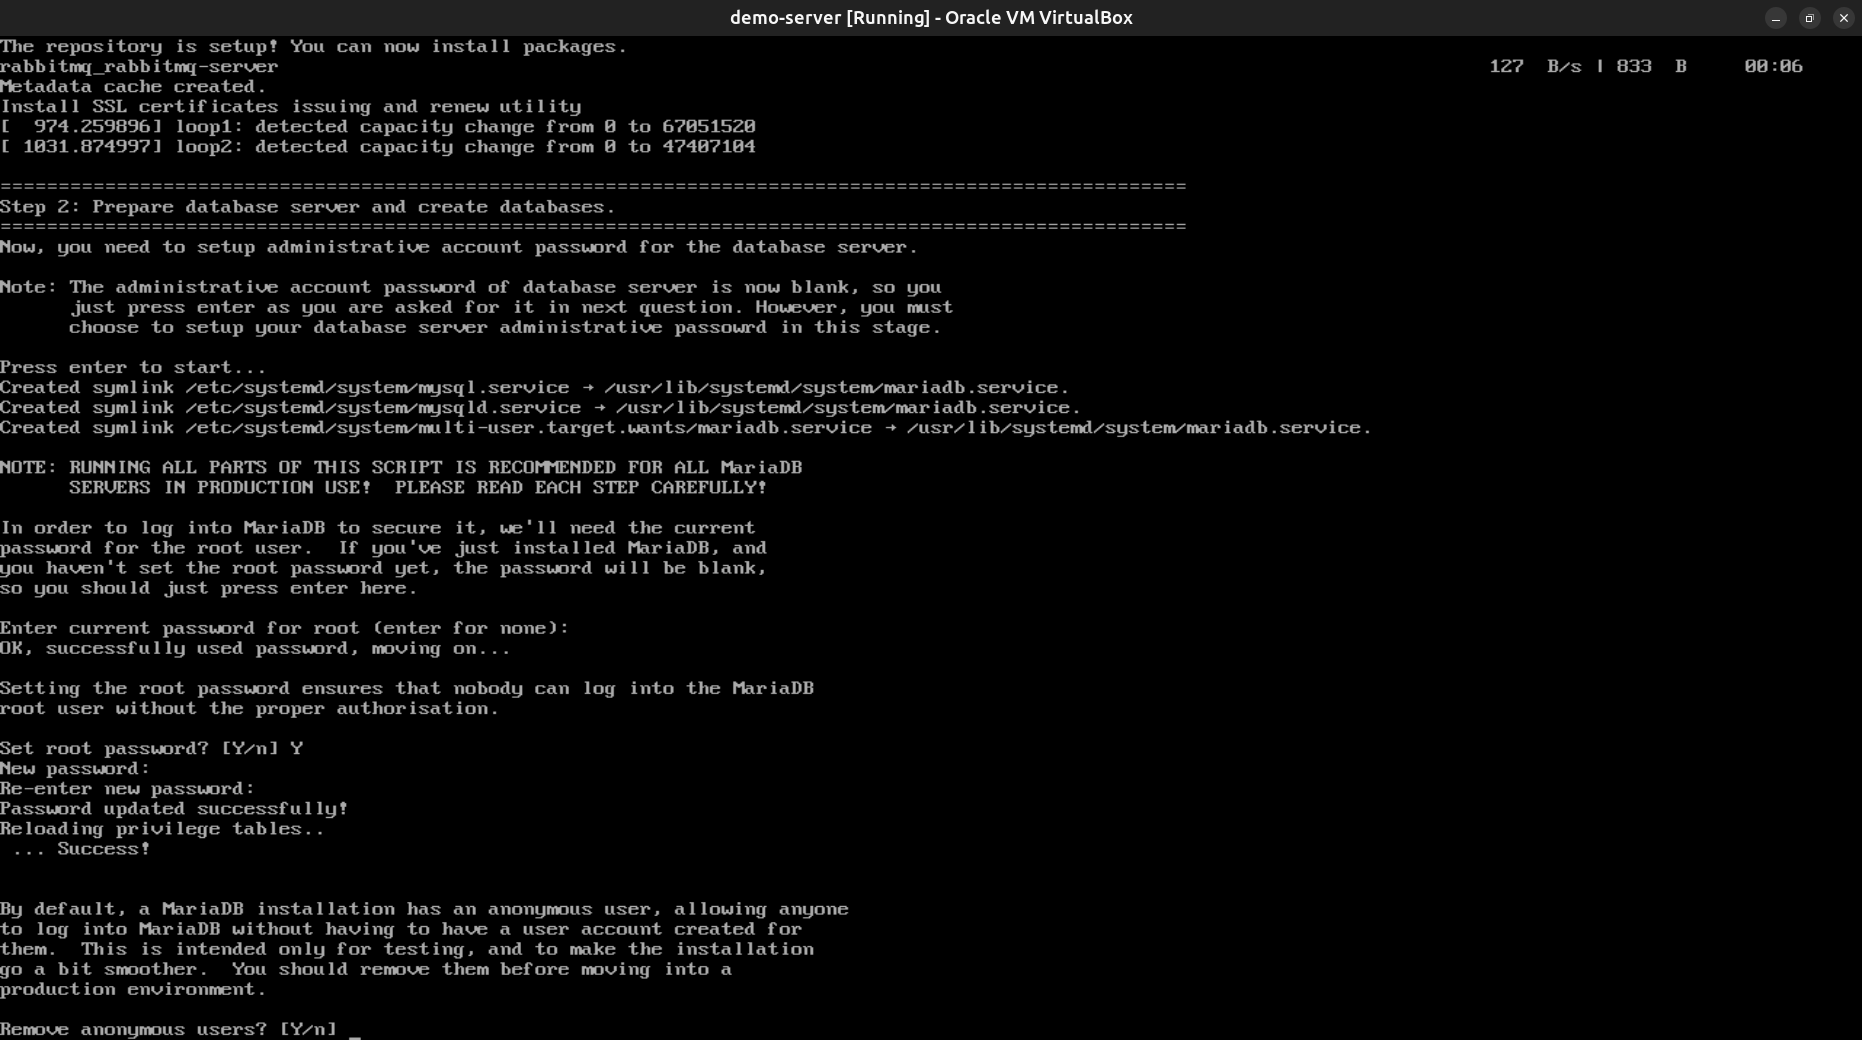 Figure 3 |
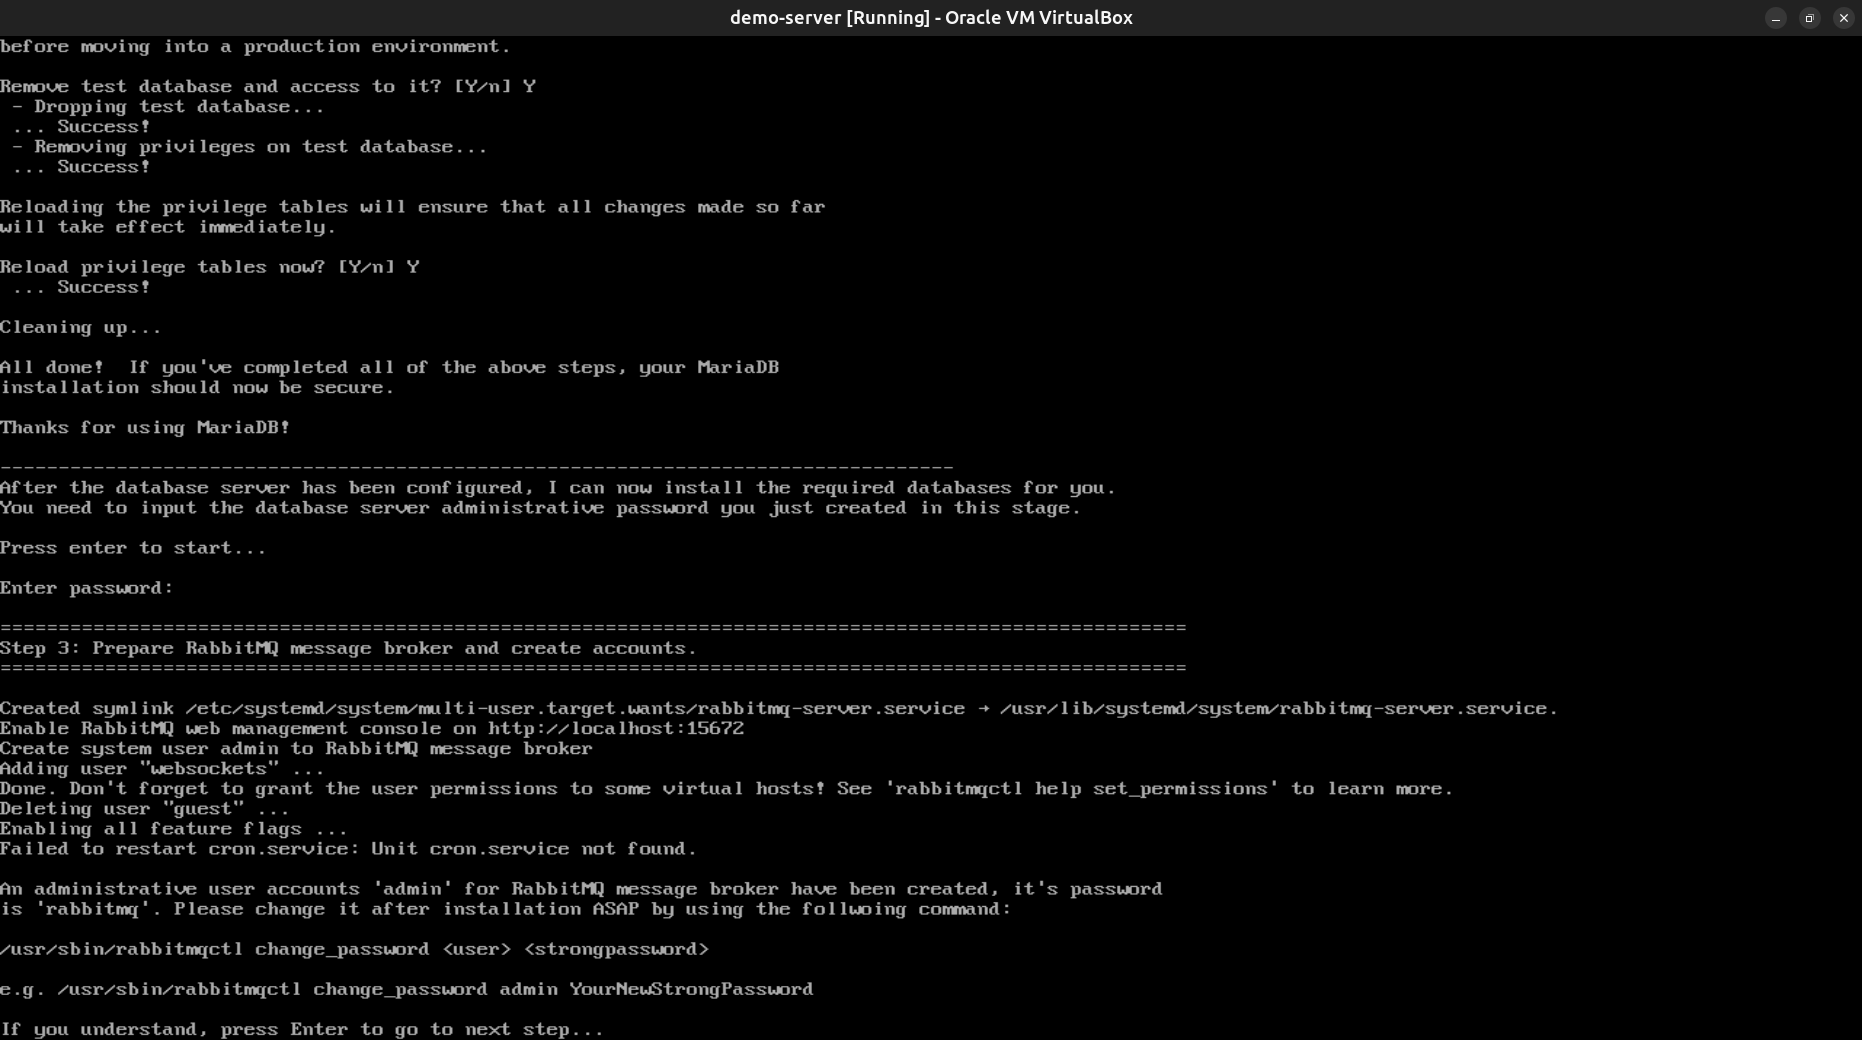 Figure 4 |
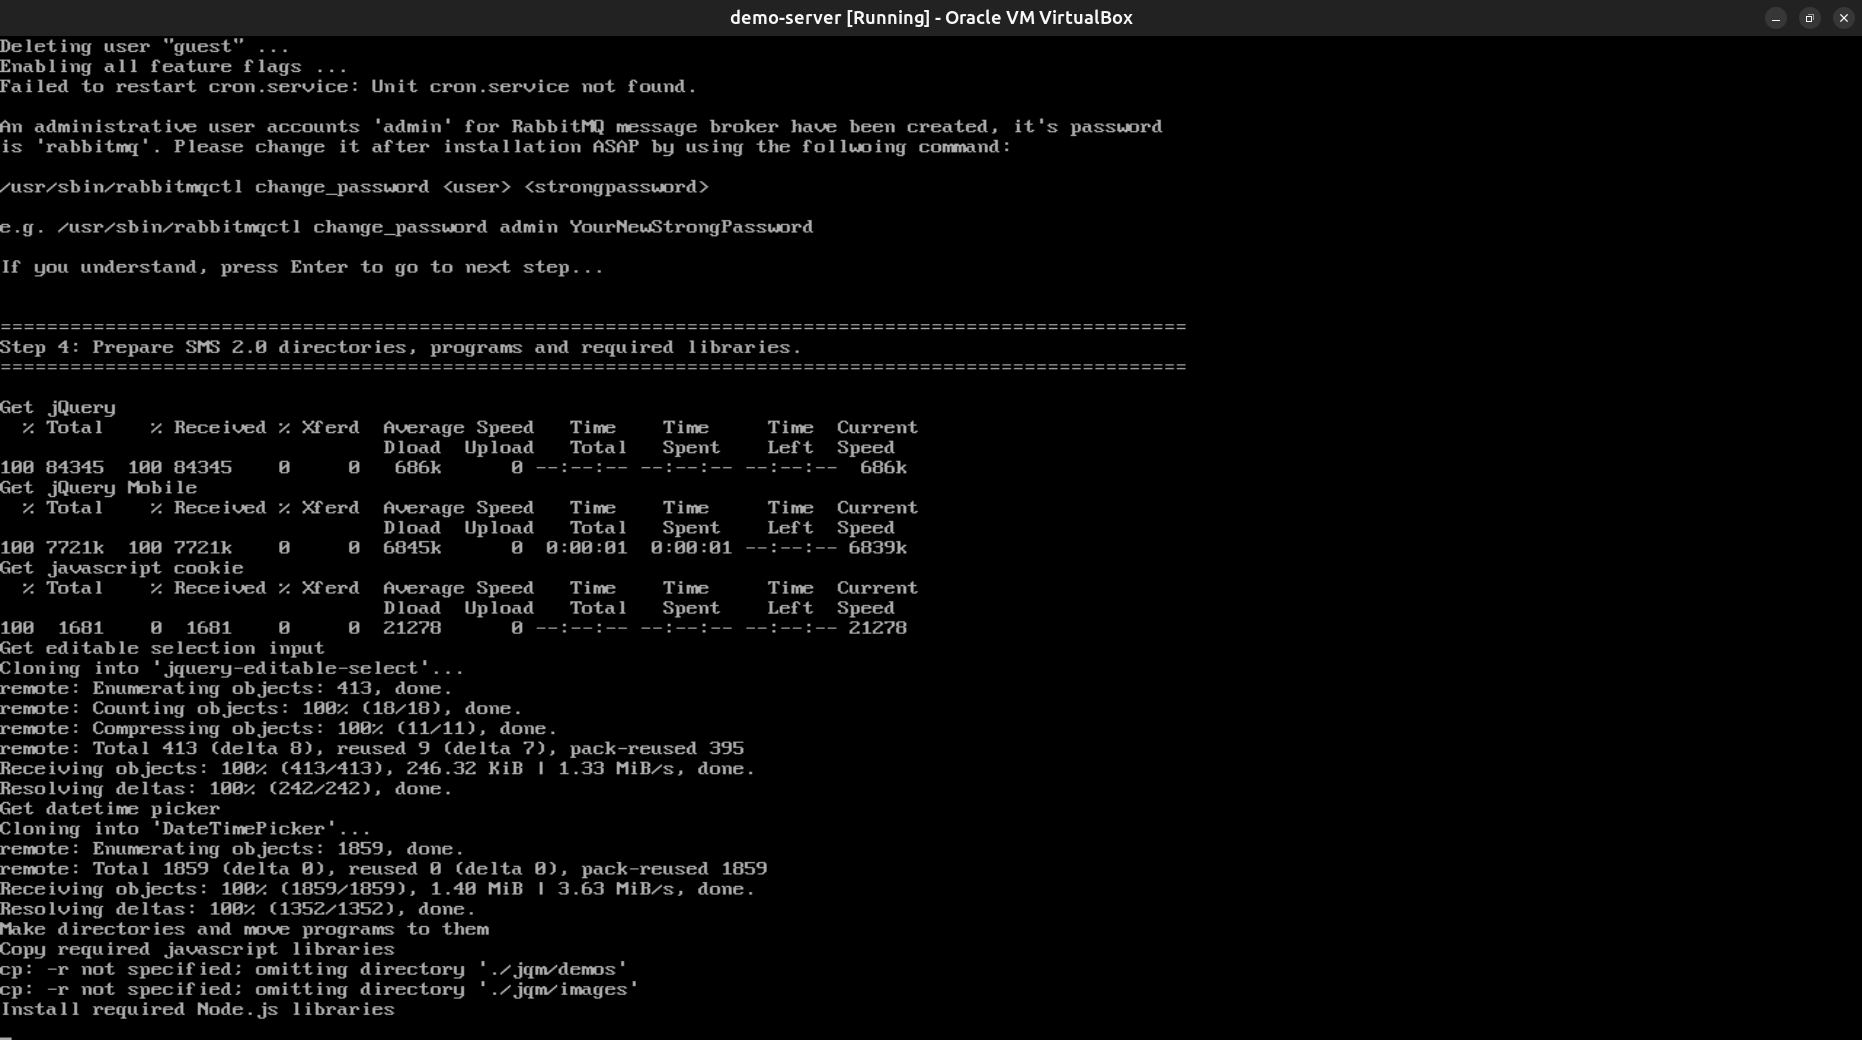 Figure 5 |
 Figure 6 |
Please note that you MUST put 'https://' in front of your DNS name of the messaging site, and ':8443' behind it, just as Figure 7 shown.
After you input all these data, you require to verify and confirm them. If all input data are correct, press 'Y' and then enter to save them. Otherwise, press 'N' to input them again.
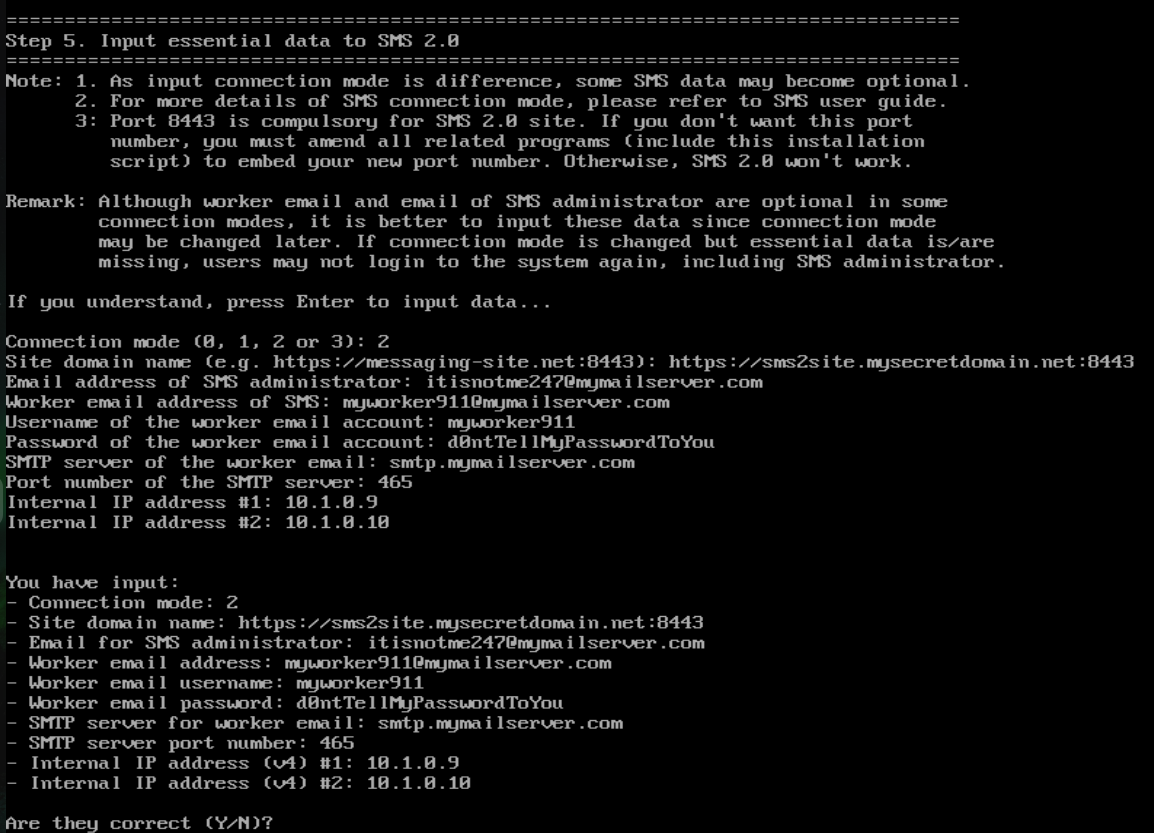 Figure 7 |
Note:
This step may fail occasionally, but don't worry, you can rerun this process later after installation by running the below command to subscribe SSL certificates again:
# certbot --nginx
SSL certificates are used to provide the secrecy of your online communication, which is the most important part of the SMS server. Therefore, you must ensure your SSL certificates installation successful before using SMS server. You could check how secure of your web site by using testing site https://www.ssllabs.com:
The general format is https://www.ssllabs.com/ssltest/analyze.html?d={your_web_site_dns_name}
e.g.) https://www.ssllabs.com/ssltest/analyze.html?d=argogo.mywire.org
It will give security ratings for your site (similar to Figure 10). If grade of overall rating is below A, that means something is wrong of your site, please fix all the issues before using SMS server for your messaging operation.
 Figure 8 |
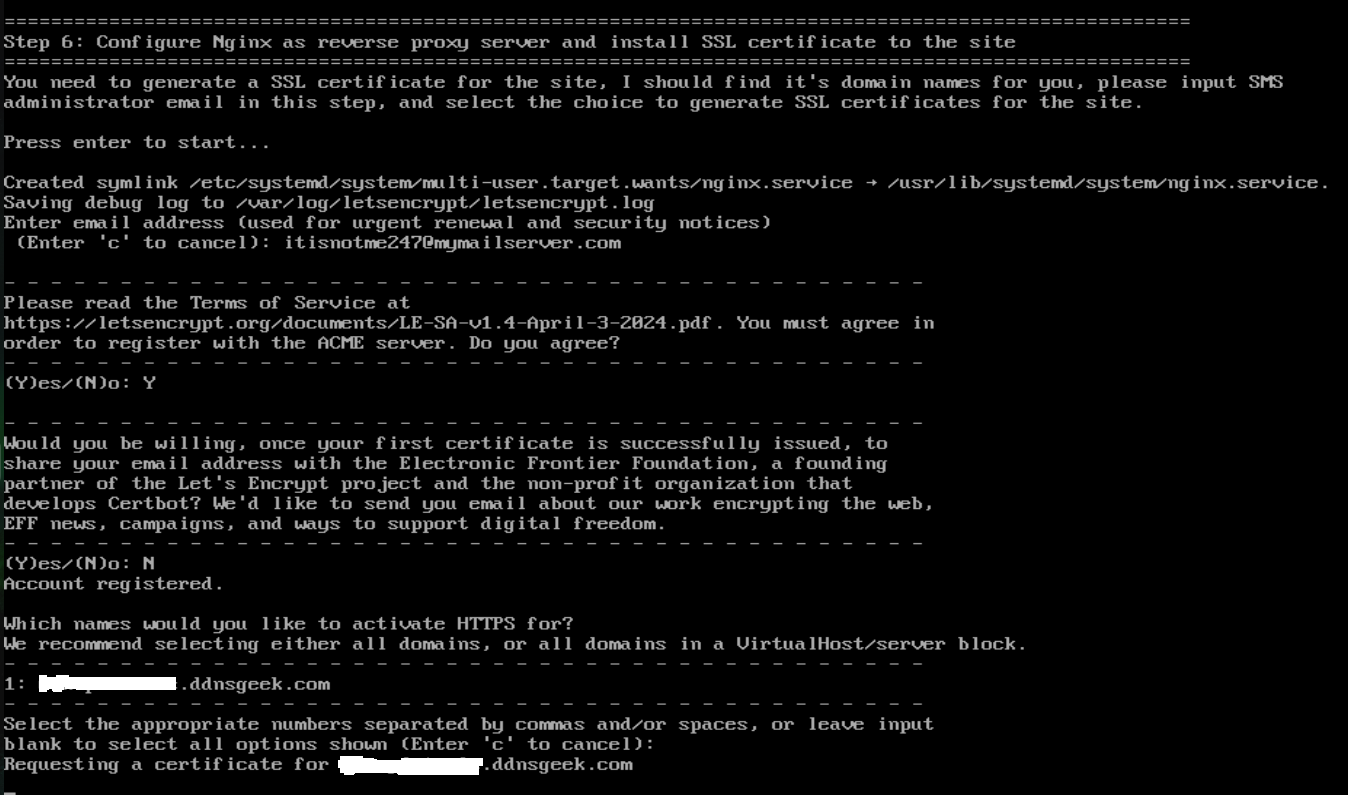 Figure 9 |
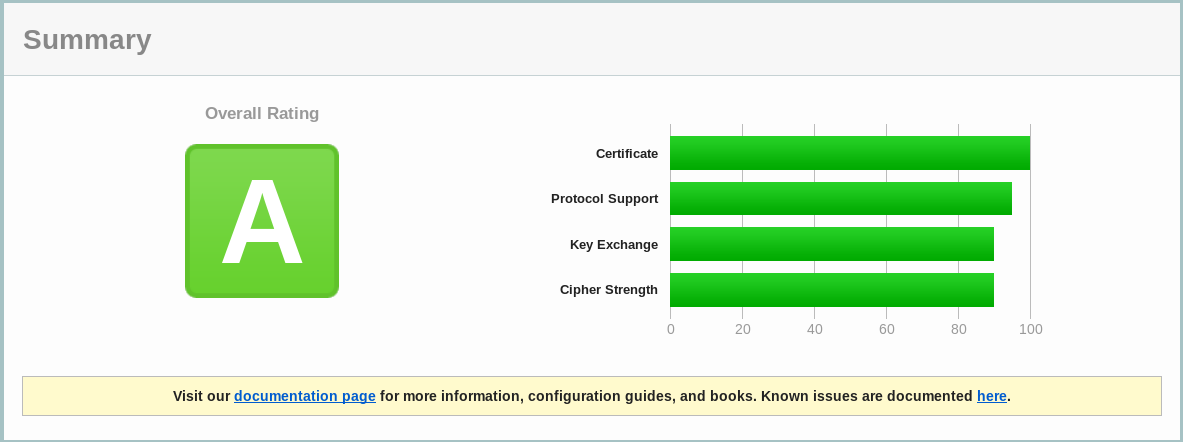 Figure 10 |
FFmpeg installation is a time consuming process. Depends on your server's capability, it may take a long time to complete. So, please be patient and wait for it to finish. If it is completed successfully, it will go to the final stage automatically. Otherwise, error message will be displayed, and you need to press the enter key to go to final stage.
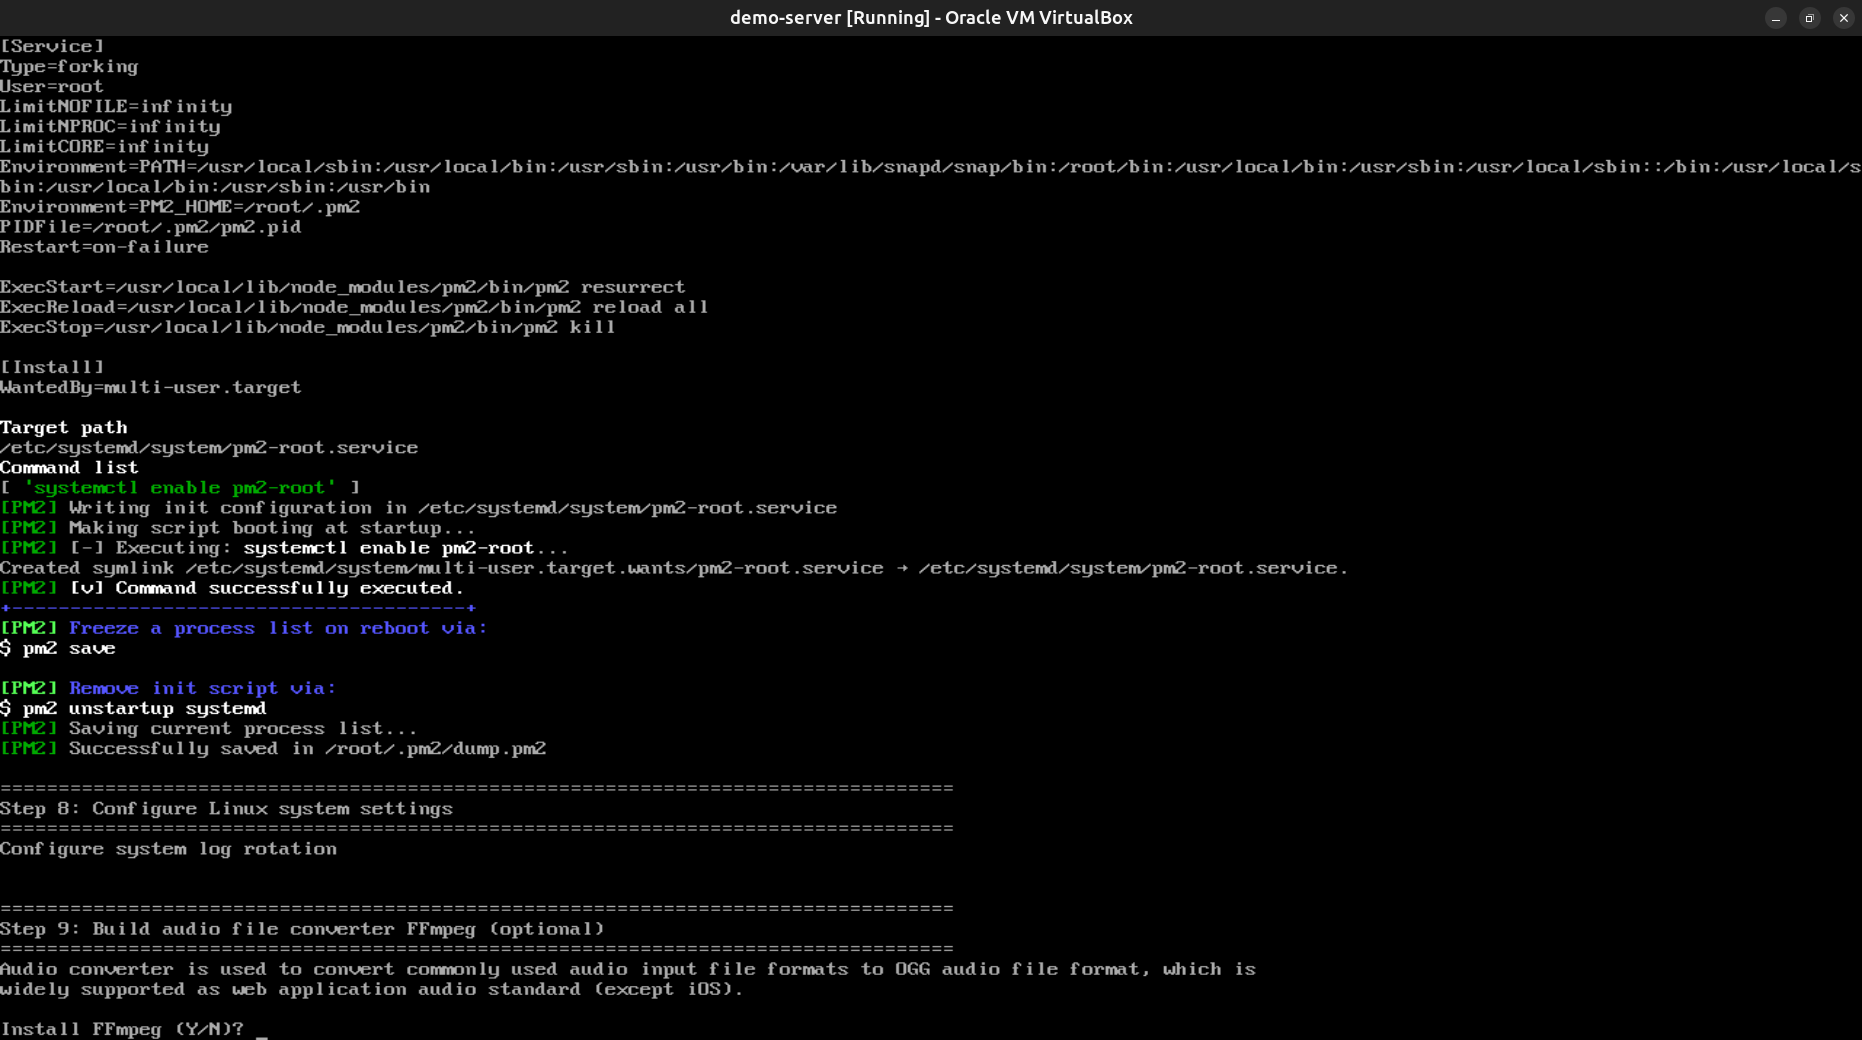 Figure 11 |
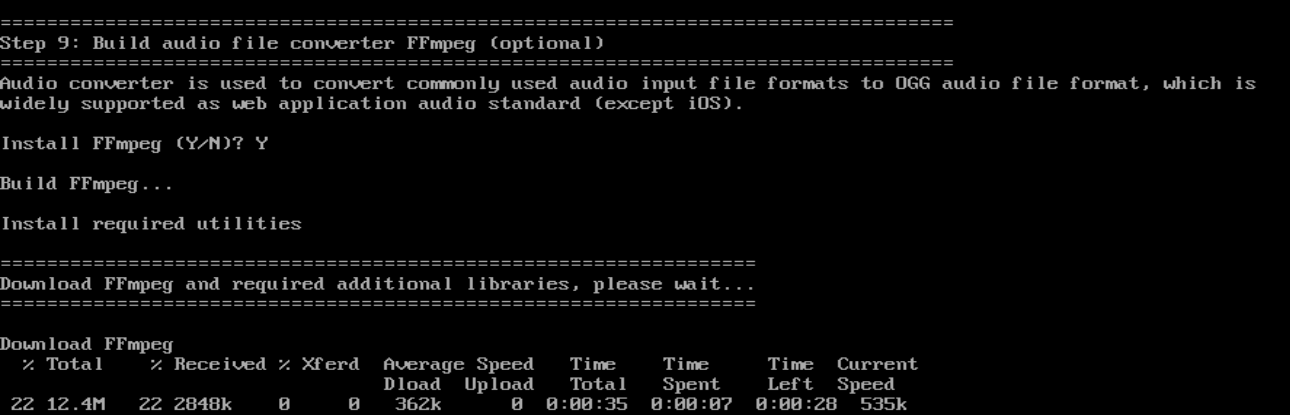 Figure 12 |
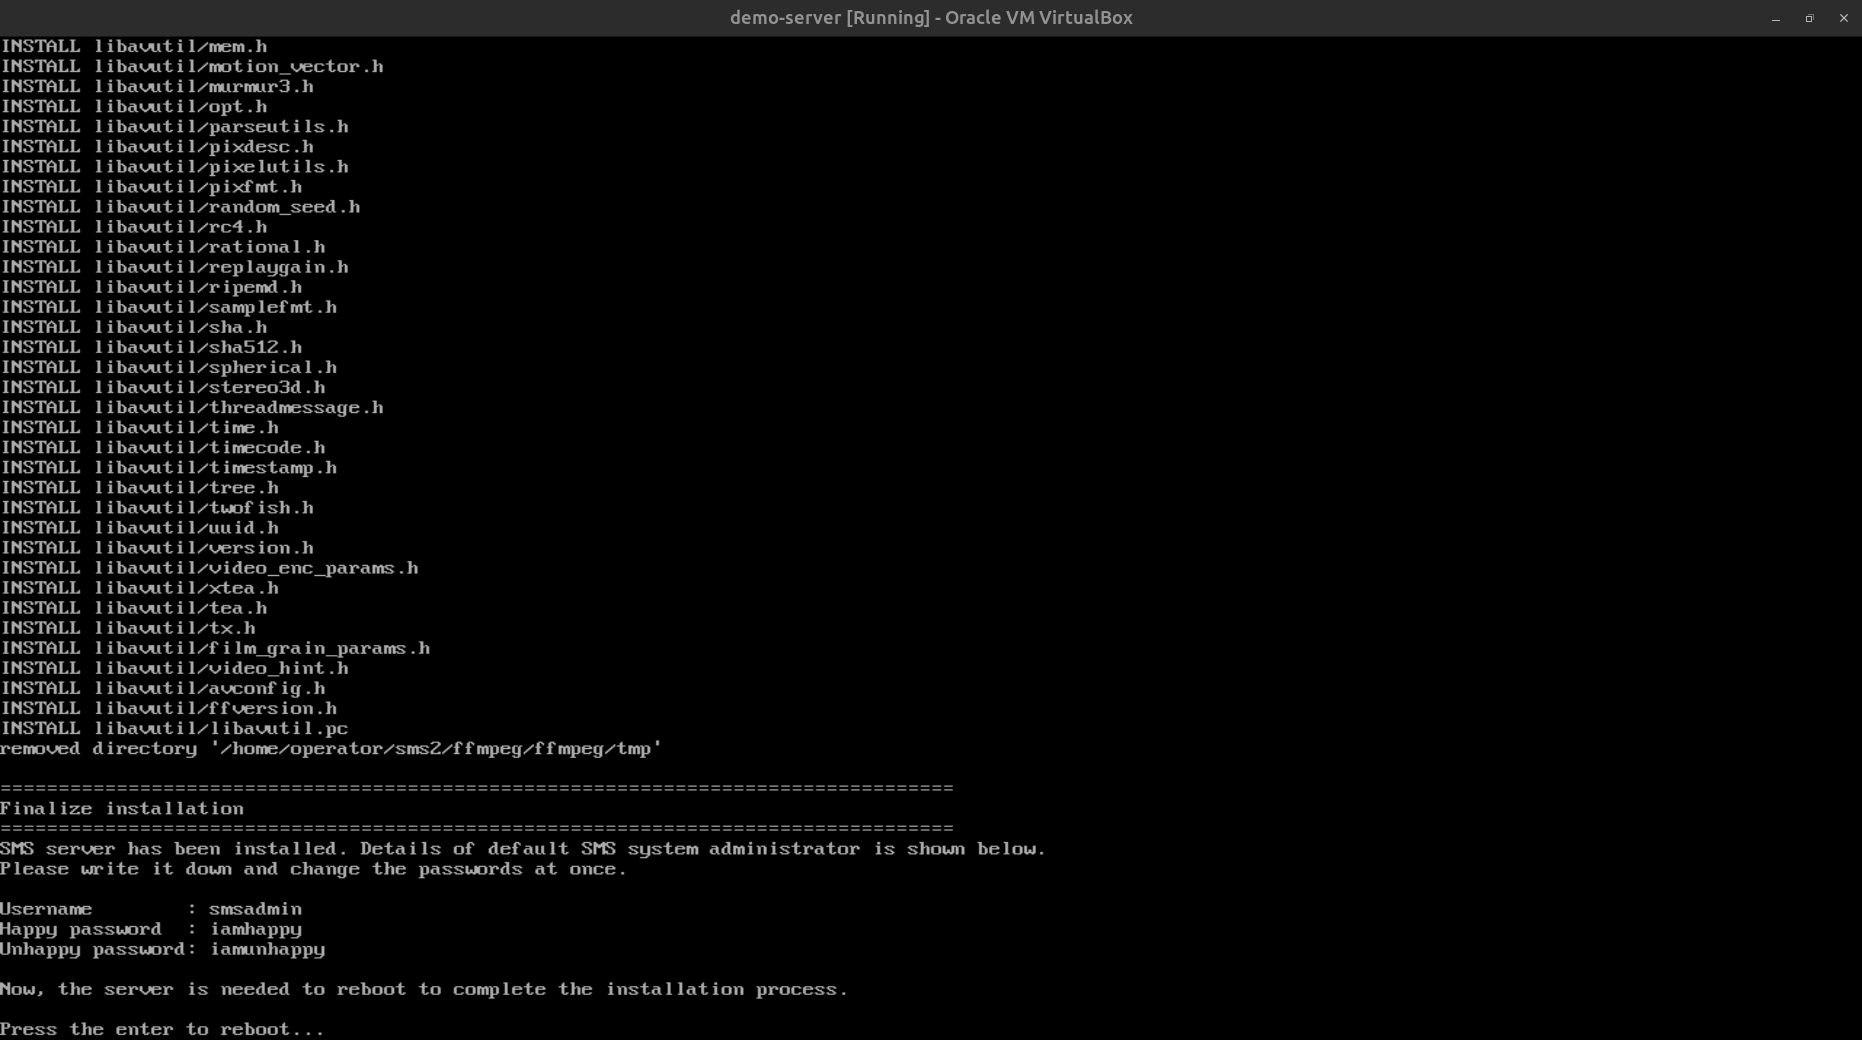 Figure 13 |
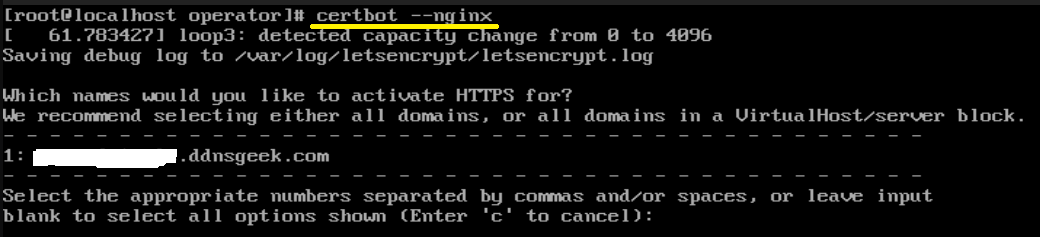 Figure 14 |
I have installed and configured a software firewall for you during SMS server installation, which open ports 22, 80, 443 and 8443 to let users connect to your SMS server. However, you may have another firewall between your SMS server and the internet. For example, a home WiFi router often has a built-in firewall to prevent all incoming connection by default, so that you must configure port forwarding to let outside users connect the SMS server behind your router. For port forwarding configuration, please consult your router manual. If any required port is blocked, SMS server will not function normally, and SSL certificate generation process will be failure.